Thursday, 18 August 2011

A Little Ambiance Please!


Here in Alberta, like everywhere, the days are getting shorter and the nights are getting colder.
I always get a bit sad this time of year knowing my much loved summer is starting to wave goodbye.
But on the brighter side...this time of year is perfect for spending the cool evenings by the fire in the backyard...not to mention adding a little candlelight wherever possible!

I'm a BIG believer in decorating the outside of my home as much as the inside of my home,
and that means adding some romantic candles wherever I can!


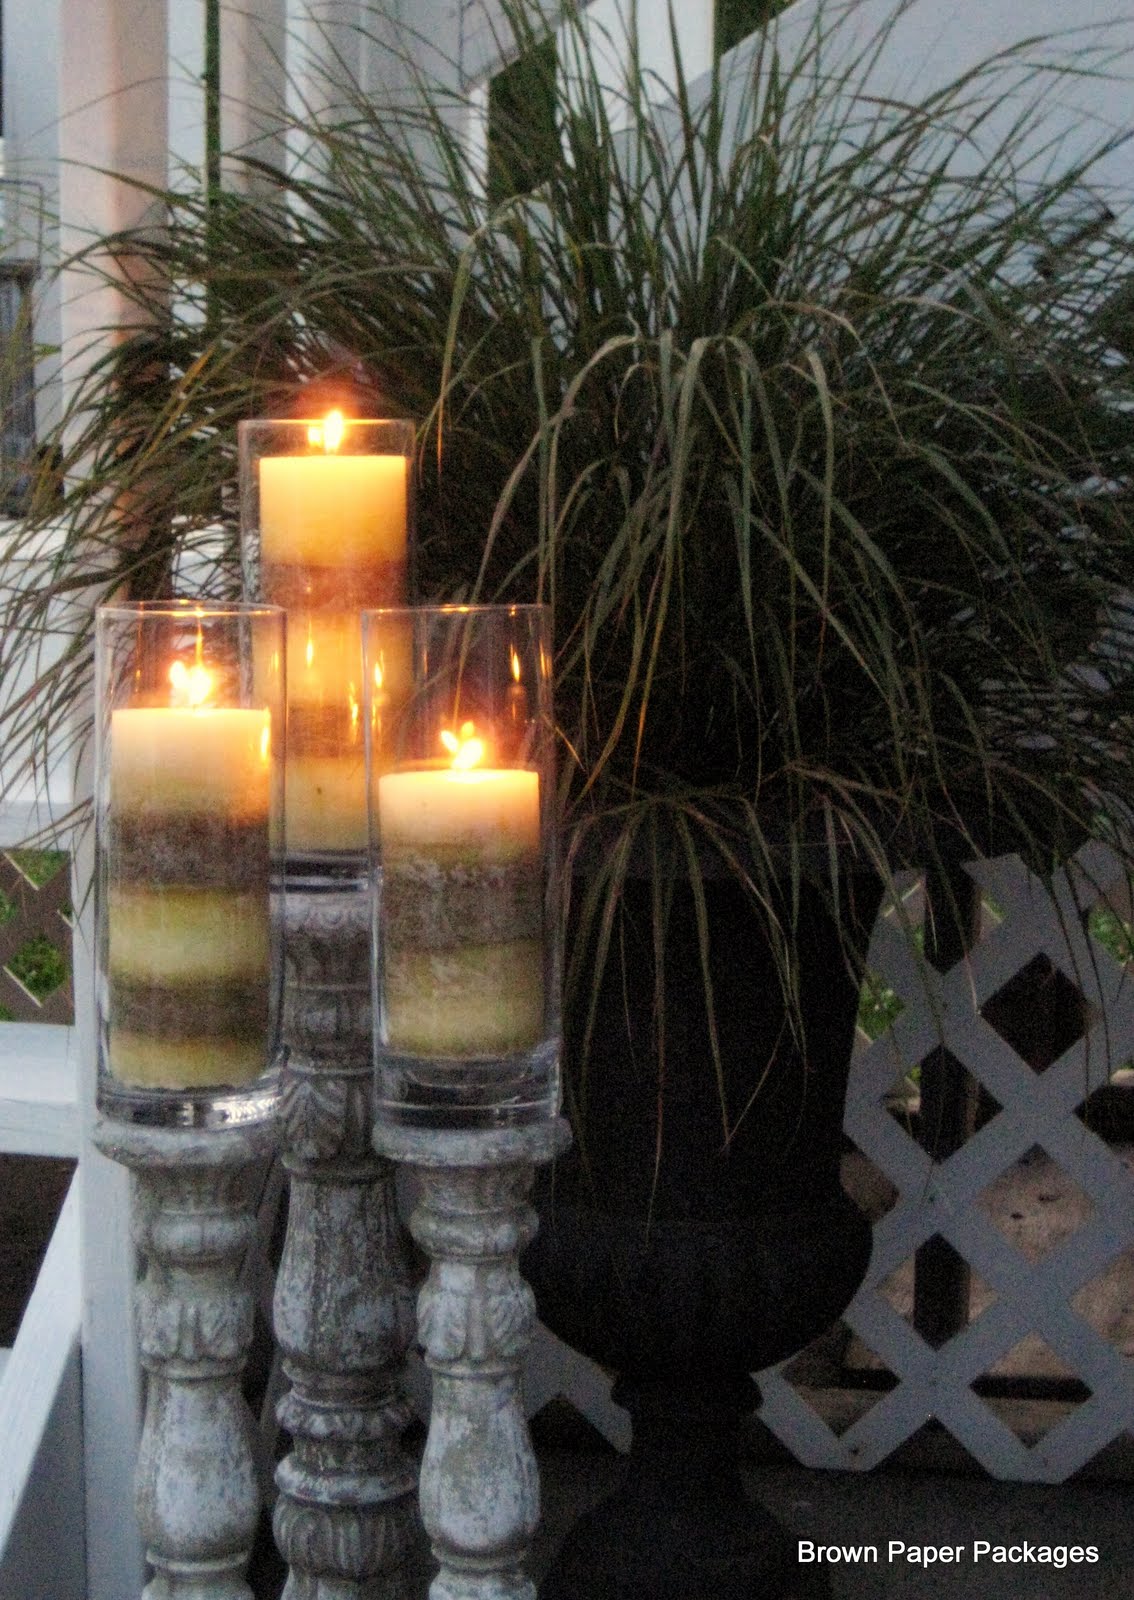
I found these candlesticks on the clearance aisle at HomeSense a few years back, and up until we moved here, I used them in our bathroom around the jacuzzi tub. I have not been able to find a spot in this home where they really "fit". These candlesticks, funny enough, actually are made of cement!
No messing around with the patina on these thank-you-very-much! I felt they would make a perfect addition to the garden and create some much needed ambiance.


I just needed some hurricanes to protect the candle flames.
Dollarama carries the perfect cylinder vase for $2 each. Can't beat that!

A little kitchen & bathroom silicone...


...a circle around the outer edge of the vase...


...and it was a lovely fit!


Just don't be silly like me and attempt to move them before the silicone dries!!!!
I was in a hurry...moved them...and smashed two of the vases all over the concrete.
Need I mention that the particular Dollarama that carries these vases is over a half hour drive from here?!
This post would have happened much sooner if I hadn't had to wait over a month
 to get my hands on another pair!!

Now all we need is a little twilight....


Ahhh...perfect.
I love the dancing flames and the flickering light...


Not to mention a little bit of romance...


Sigh.

Love.

--------------------------------------------------------------

Linking up to:

Tuesday, 16 August 2011

Pad (Phad) Thai My Way

I recently had a couple requests for my Pad (or Phad depending on how you like to spell it) Thai recipe,
so, since I was making it for dinner anyhow I thought I'd snap a few pics along the way
and share with all of you too.

I found this recipe years ago, and unfortunately have no recollection of the source, but I've been making it for a looong time and it's been a big hit. Big enough that I've handed out the recipe numerous times and even my pickiest of guests have eaten it and had seconds and then thirds. You know you've got a winner then, right?!!

Hubby spent a year living in Thailand after the tsunami (which is probably why I copied down this recipe as a newlywed), and he says the flavor is pretty authentic to how he remembers it...although I have made some adjustments along the way. So please don't send me hate mail if your Thai friend says he's never tasted anything like it, and doesn't mean it in a positive way! ; )

Here's how we make it round these parts...


First, cut up one or two limes into wedges, then chop up three or four green onions and some salted peanuts. The amount you cut up really depends on how much you like to eat...there's no rule here.
I tend to put them out in separate bowls and let people sprinkle everything over their own serving.


Then chop up 2 garlic cloves, throw into a bowl and add 1/4 cup fish sauce, 1/4 cup + 2 Tbsp. white sugar, 1/4 cup + 2 Tbsp. white vinegar and 1 tsp. paprika. Whisk it all together and set aside.


I like to use Shanghai Thin Noodles for this dish, but the ones I buy are manufactured in Calgary, AB,
and I have no idea if this is something you can buy everywhere. I'm sorry for my ignorance!
However, I have also made it several times with rice noodles and it's also very good.
If you have gluten allergies...rice noodles are the way to go!
Which ever noodle you decide to use...prep them now.
If you're using the Shanghai noodles...rinse them in cold water to separate and set aside.
 If you're using rice noodles, soak them in hot water until they are pliable and ready to use.


Next, heat your fry pan on medium and add a good amount of olive oil. My recipe calls for 1/2 cup, but I never use that much...maybe 3 Tbsp. I think it's really personal preference. Chop up two or three chicken breasts - depending on how hungry you are! - and throw into the pan. Crumble one or two dried chili peppers over top. Do you love my indirect directions?! It's on purpose...if you like lots of chicken...add lots of chicken. If you like food spicy...add more chili peppers!! I use two because I have two little ones who eat the same food as we do and I prefer not to burn their taste buds.
Cook it up, stirring periodically, until the chicken is cooked through.


Now add the fish sauce mixture, as well as the noodles. At this point, you should also add about 3/4 cup of bean sprouts too! I didn't have any in the house...so you'll just have to pretend you see it here!
It really adds a delicious texture....yum.
Mix everything up well with a pair of tongs and turn off the heat.
(I believe the real Pad Thai also includes a couple of eggs thrown in under the noodles and chicken and is cooked before the bean sprouts are added.)


Dish it up and sprinkle green onions and peanuts over the noodles and chicken
and finally squeeze fresh lime juice over everything!

Enjoy!!

Yummy, yummy, YUMMY.
And...you're welcome.

:)

-------------------------------------------

Wednesday, 10 August 2011

Pretty Paper Peonies!

A few weeks ago I was doing the ol' blog hop and came across a stunning post by Michella Marie.
I. fell. in. love.
She shared a beautiful tutorial on how to make paper peonies out of...can you guess it?...coffee filters!
Now I know coffee filter projects are pretty big around blog land these days, but honestly, these peonies blew me away more than anything else I've seen.

This past weekend, both my kiddies were sick and hubby was working,
so we had a very laid back day on Sunday.
Kiddies watched countless episodes of Curious George while I got out my glue gun and coffee filters...


I trimmed them down to create a size that worked for me...


A little florist tape...


...and some more filters...


Isn't that pretty?
I LOVE them!!!


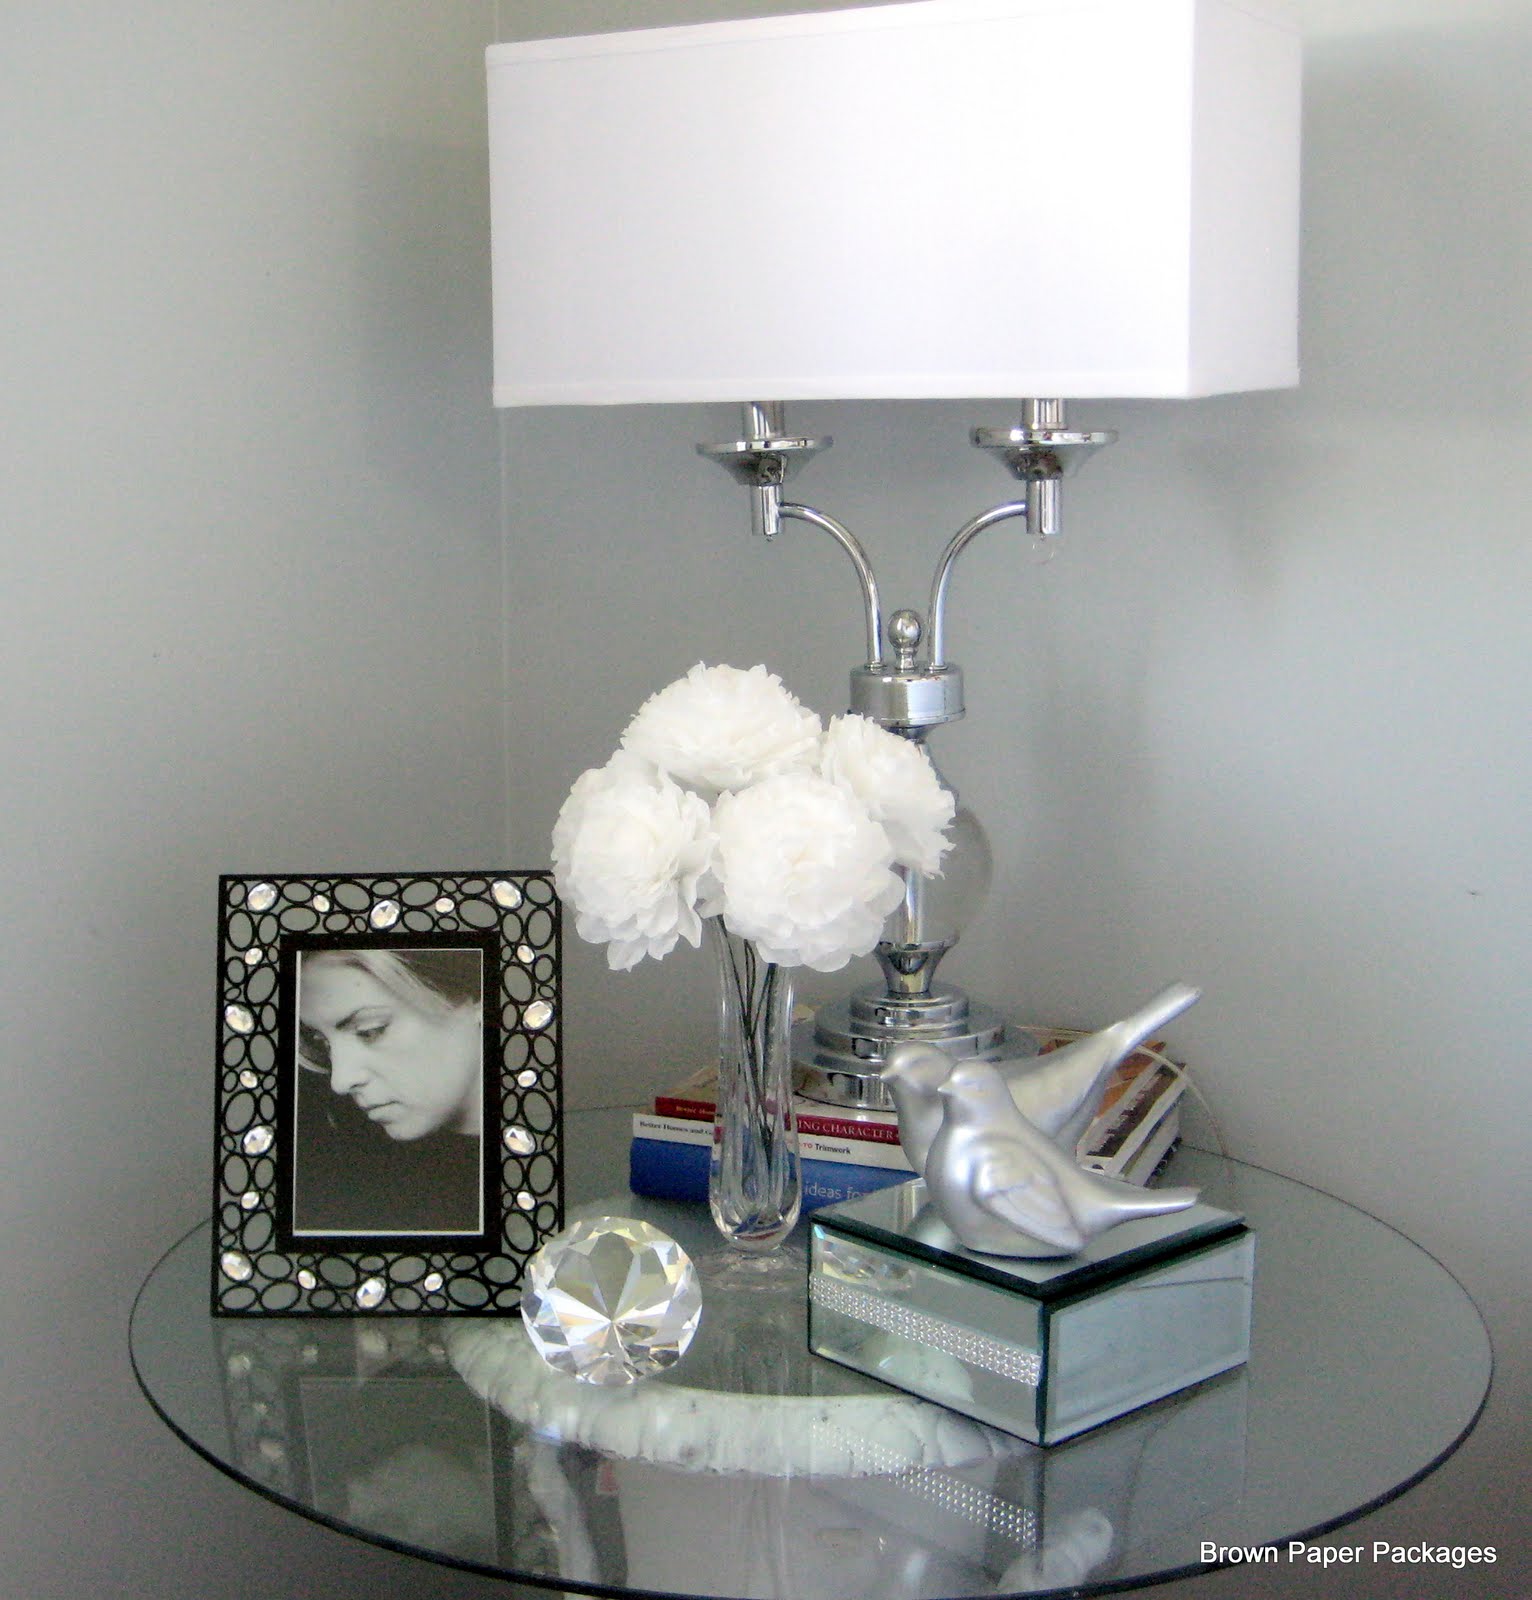
I think they make such a pretty bouquet...


...I love the elegance they add to the night table...


...and the best part was having Hubs tell me that he thought they were store bought and was "shocked" (his word) to find out what they were made of. Gotta love it when that happens!!


Now.
Dontcha just want to make some for yourself?!
Head on over to Michella Marie and show her some love!
You will find her full tutorial HERE...and trust me...you will NOT be disappointed (you will need her tute to figure out how to make them)!!

Edited: I've since had several emails asking where to get the full instructions for these peonies, so here's the full link... http://www.michellamarie.com/2011/07/white-paper-peonies-tutorial.html.

Have fun!

----------------------------------------------------------

Linking up to:

Coffee Creations Party at Shabby Creek Cottage


Friday, 5 August 2011

A Chalkboard for the Garden

Well, it seems like I'm on a bit of a chalk board kick right now.
But hey, why not...I haven't done much chalk boarding since grade school,
so I guess I'll make up for lost time now!

Hubs and I like entertaining and throwing parties and my favorite kind of party or get-together is the backyard kind. Fire roasted smokies...homemade coconut marshmallows...bush pies...and LOTS of iced tea (I believe that's the same as sweet tea for my American readers!)...makes for good times and easy hosting.

In our last home, once you walked in the gate, you were kind of already in the backyard...hard to explain but it worked out really well for entertaining. Our new home, however, is much more typical with gates at the sides of the house and, unless our guests have been previously instructed,  most people will knock on the door, come in, take their shoes off, walk through the house, out the back door, put their shoes on again and then finally down the deck stairs into the back yard. Quite a few steps just to get to the party!
So I thought it would be nice to have something attractive to hang on the gate to let people know to enter there and I thought a chalk board would do the job perfectly.  


I picked up this frame at a garage sale for 25 cents several weeks ago, with this project in mind!


Last week, we were finally able to cut down a piece of...something...? I'm sorry...I don't even know what kind of material it is! Anyhow, Hubs cut it down to fit the frame. He's not happy about me posting this picture, because apparently one of the sides isn't perfectly straight. Sorry honey!
Anyhow, I gave it about five or six coats of chalk board spray paint and let it cure for just over 24 hours.


I gave the frame a few coats of white paint...
(again...please excuse that embarrassing mess of a lawn! It's a work in progress...)


...then dry rubbed some Burnt Umber acrylic paint over it and then finally sanded it down a bit in some spots.
Funny how us DIY'ers have to change everything, hey?

Then I inserted the chalk board into the frame and tacked it down with very tiny nails. I took a picture, but my non-manicured hands do NOT look nice in a macro photo, so you'll just have to use your imagination!
I also fastened some claw hooks...not sure if that's the right name but we'll go with it...to the top and side
so that I can hang it either way.


Here she is all finished and ready to let our guests know where to go and how to get there (haha)!

Then I decided to have a fun little photo shoot and make up a sign for a party
that I am going to have one of these years...


Standing up on the sidewalk with a few girly props works too...


I'm not gonna lie to ya though. I was just a tad bit embarrassed doing this photo shoot in my front yard with my cul-de-sac neighbors driving by and wondering what was up with their crazy neighbor.
I was desperately wishing they would come over and ask what I was doing, so I could something like...
"Oh! Hi! I have a blog. That's why I twist my body into funny contortions in the front yard while taking photos of lacy umbrellas and chalk boards on the side walk, and then take it all down again and go inside like nothing ever happened. Really!" But, no, they never did, and I'm pretty sure they're still wondering.


Ah well. Let's add a little romance by blurring the picture a bit.
I've always wanted to take a Victoria magazine-esque picture!


I won't be using this on my gate all the time, obviously, so I thought maybe this little corner could use a little more froofing...


I really love how it fills in that little space on the lattice wall...


...especially now that the flowers are filling in and frame it quite nicely...


It's kinda tempting to sit down with that Victoria magazine and have a little lemonade...hmmm...

------------------------------------------

Linking up to:


Wednesday, 3 August 2011

Shabby Chic Mirror Made Over!

Hello everyone! Are you still there??!

I feel like I've been gone from my "blog family" for a loooong time...even though it's only been just over a week! But while I've been away from cyberspace (does anyone still call it that?), I've been getting in lots of good visiting time with my real family and that has been fantastic!

I had hoped to post this project sometime last week, but didn't find the time to squeeze it in...

Back in my single before-there-was-a-man decorating days, I bought this cute little vanity mirror at a little boutiquey store in Banff. I've always really loved it, even though I haven't used it for quite a few years now. For any of you that have been reading along for a while now, you know that I'm trying to pick away at my stash of doesn't-work-here decorating items and repurpose them into something that works in this house! This mirror fell into that stash.


Aside from needing to tighten up some screws, there's absolutely nothing wrong with it.
Cute, huh?
But I started thinking that maybe it could lead a different life now...something a little more useful.
I've often admired those little menu chalkboards that the ultimate hostesses (I'm sure Martha has one!)
 use for Easter brunches, Christmas dinner, New Year's Eve buffets, etc., and I thought this could transform
into a menu board perfectly.
Now I know there's nothing overly original about that idea, but that's okay.
It's my mirror!


Being the impatient person I am, I didn't want to wait until hubby found some wood and cut it to size for me...so I just sprayed chalkboard paint right onto that mirror.
 I don't know if that's a major faux pas or not, but I did it anyway. I figure if I ever change my mind
and want to use it as a mirror again, it won't cost much to have one cut to fit.
Two coats of paint gave beautiful coverage.

On a side note...how do you like the lovely bouquet of clover and dandelions that can be found in our lawn?! Purdy, huh!
(I kid. Big time kid.)


Here she is all finished.
I like her.
This was probably one of the easiest makeovers I've ever attempted.
The hardest part was waiting for the paint to cure!


Fresh rhubarb bread anyone??


Hubby said he's looking forward to coming home and checking the menu board
to see what's for supper.
I think he just likes the idea of a pre-warning...
(Hmm...McDonalds? Or stay home?)


Now I'm just gonna spend a bit of time working on my chalk penmanship...

---------------------------------------------------------------

Linking up to:

36th Avenue

Related Posts Plugin for WordPress, Blogger...