Showing posts with label healthy eating. Show all posts

Friday, 21 October 2011

Fallish Carrot Ginger Soup and Biscuits

You know that feeling you get when you find the perfect recipe that is the perfect fit for the day?
The kind of feeling that hits you right there and makes you go "ohhh. now that's gooood."
No?
Only me?

Actually, I'm pretty sure it's not just me.
Why else do we describe soups and stews as the perfect fall food?
A light, fresh salad as a great summery dinner?
Gingerbread as a Christmasy delight?

Well - I ran across a recipe a few years back that is one of those "ohhh. that's goood." kind of recipes.
Naturally I need to share it with you.
But first I must insist that you wait until that perfect foggy, fally, drizzly kind of day to make it.
And you must make it for dinner. Not lunch. Dinner.
And you MUST include a batch of piping hot biscuits dripping with butter...it's an absolute necessity,
not just for your stomach, but for your soul too.
The scent of fresh bread in the oven is every bit as comforting as a cozy blanket by the fire on a cold day.
Michael Buble crooning in the background is completely up to you, but I will say...it won't hurt anything.


So here's how to create your perfect meal for the perfect fall day...

Carrot Ginger Soup

2 Tbsp. olive oil
7 large carrots, peeled and chopped into rounds
1/2 medium onion, chopped
3 cloves garlic, minced
1 tsp. ground ginger (or less if you don't care for the heat/taste of ginger)
1 tsp. curry powder
1/2 tsp. turmeric
1/2 tsp. ground cumin
1/2 tsp. paprika
2 small dried chili peppers, crushed (less if you don't care for the heat, more if you like it hot)
salt and freshly ground black pepper to taste
1 Tbsp. honey
4 cups chicken broth

Peel the carrots and slice into discs and chop up the onion. While you're working on that, preheat your favorite soup pot and add the olive oil. Throw in your onions and brown them a little, then add the carrots. Saute for a couple minutes, then add all the spices, garlic and ginger and cook until they start smelling so good you have to wipe the drool off your chin. Add the honey and broth and bring to a boil. Lower the heat and simmer until the carrots are nice and tender...about 30 minutes, give or take.
Then remove the soup from the heat and puree it in a blender, food processor or with a stick blender, if you have one, until it's nice and smooooooth.


Now remember I said YOU. MUST. BAKE. BISCUITS.
While your soup is simmering away...whip up those little lovelies.
Here is the recipe I always turn to for biscuits - because I love them dearly.
 And peoples - I don't know if this is breaking a great biscuit law or not...
but...I mix my dough up in my food processor.
Gasp!!
Thankfully, my palate isn't refined enough to know the difference between a food-processor-ed dough and a hand mixed dough...but I'll tell ya what...my family knows the difference between waiting
an extra 15 minutes for their supper...and not waiting.
So - food process my biscuit dough is what I do.


Now...take a deep breath.
Take in the lovely aromas.
Indulge in your first spoonful...and say..."ooohh. that's gooood."
---------------------------------

Thanks goes out to my cousin's lovely wife, Laura, for first introducing me to this recipe!
Original recipe credit goes to Spark Recipes.
-----------------------------------------------


Feathered Nest Friday


Weekend Bloggy Reading


Funky Junk's Saturday Nite Special
 
To see the other great parties I'm linking up to, please click HERE!

Thursday, 1 September 2011

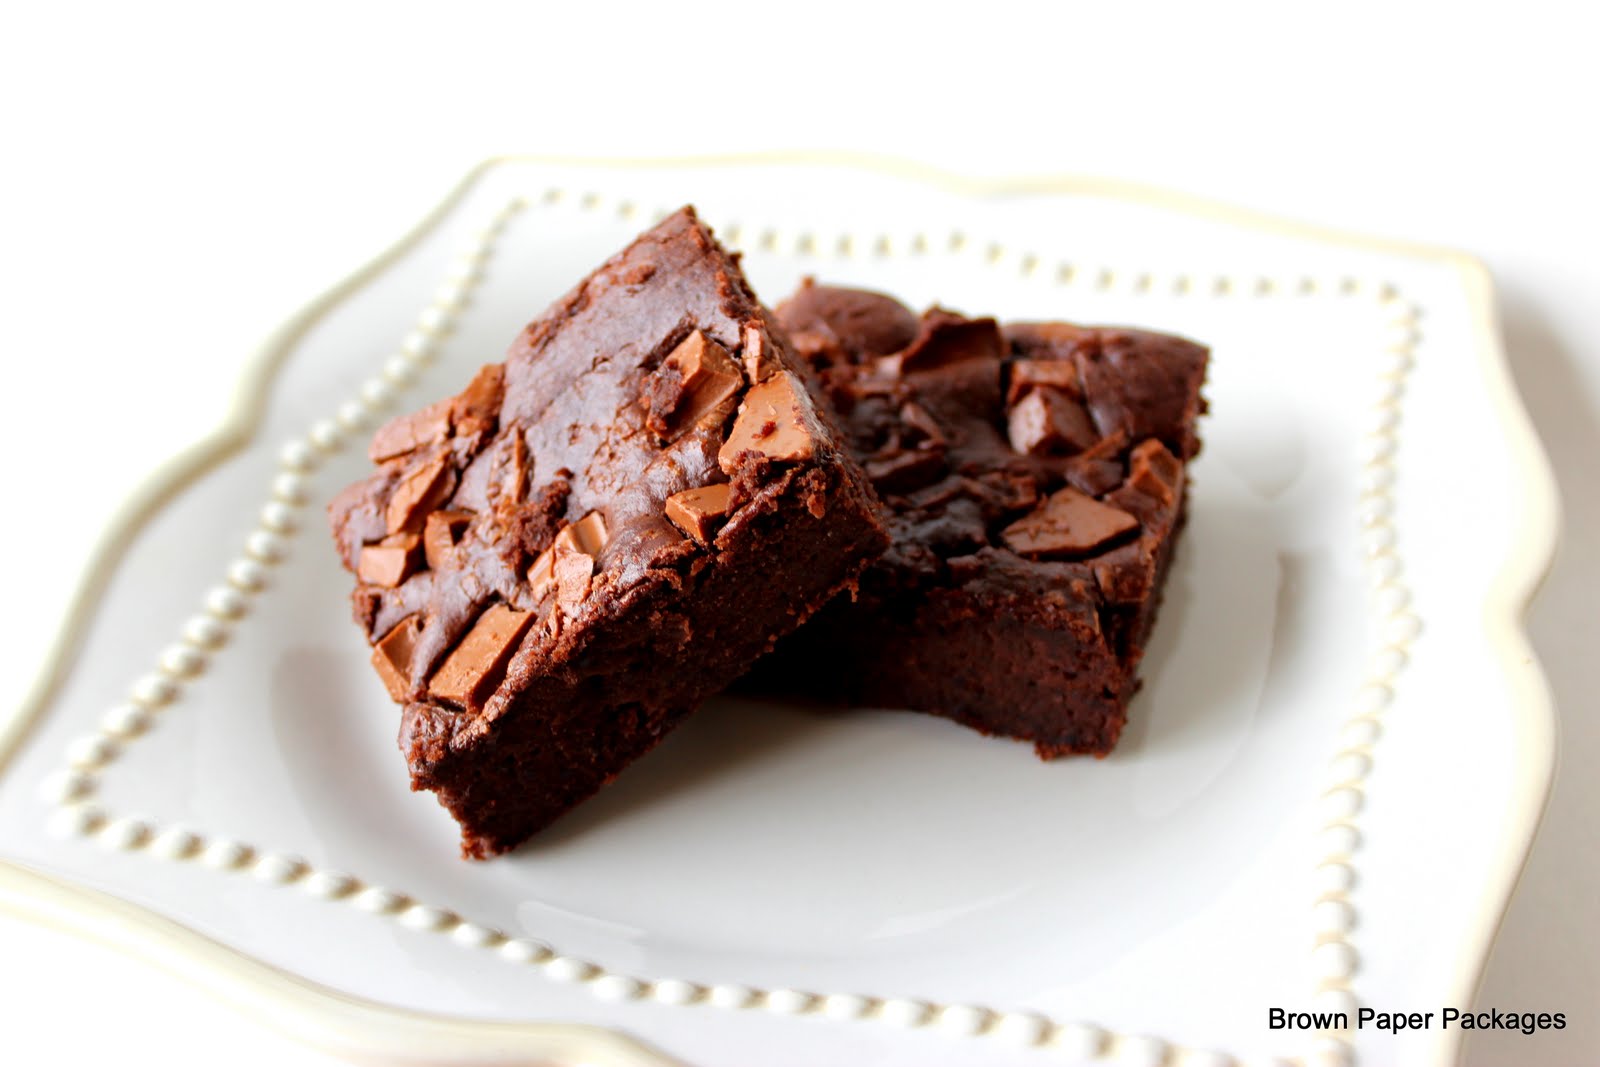
Surprise Brownies


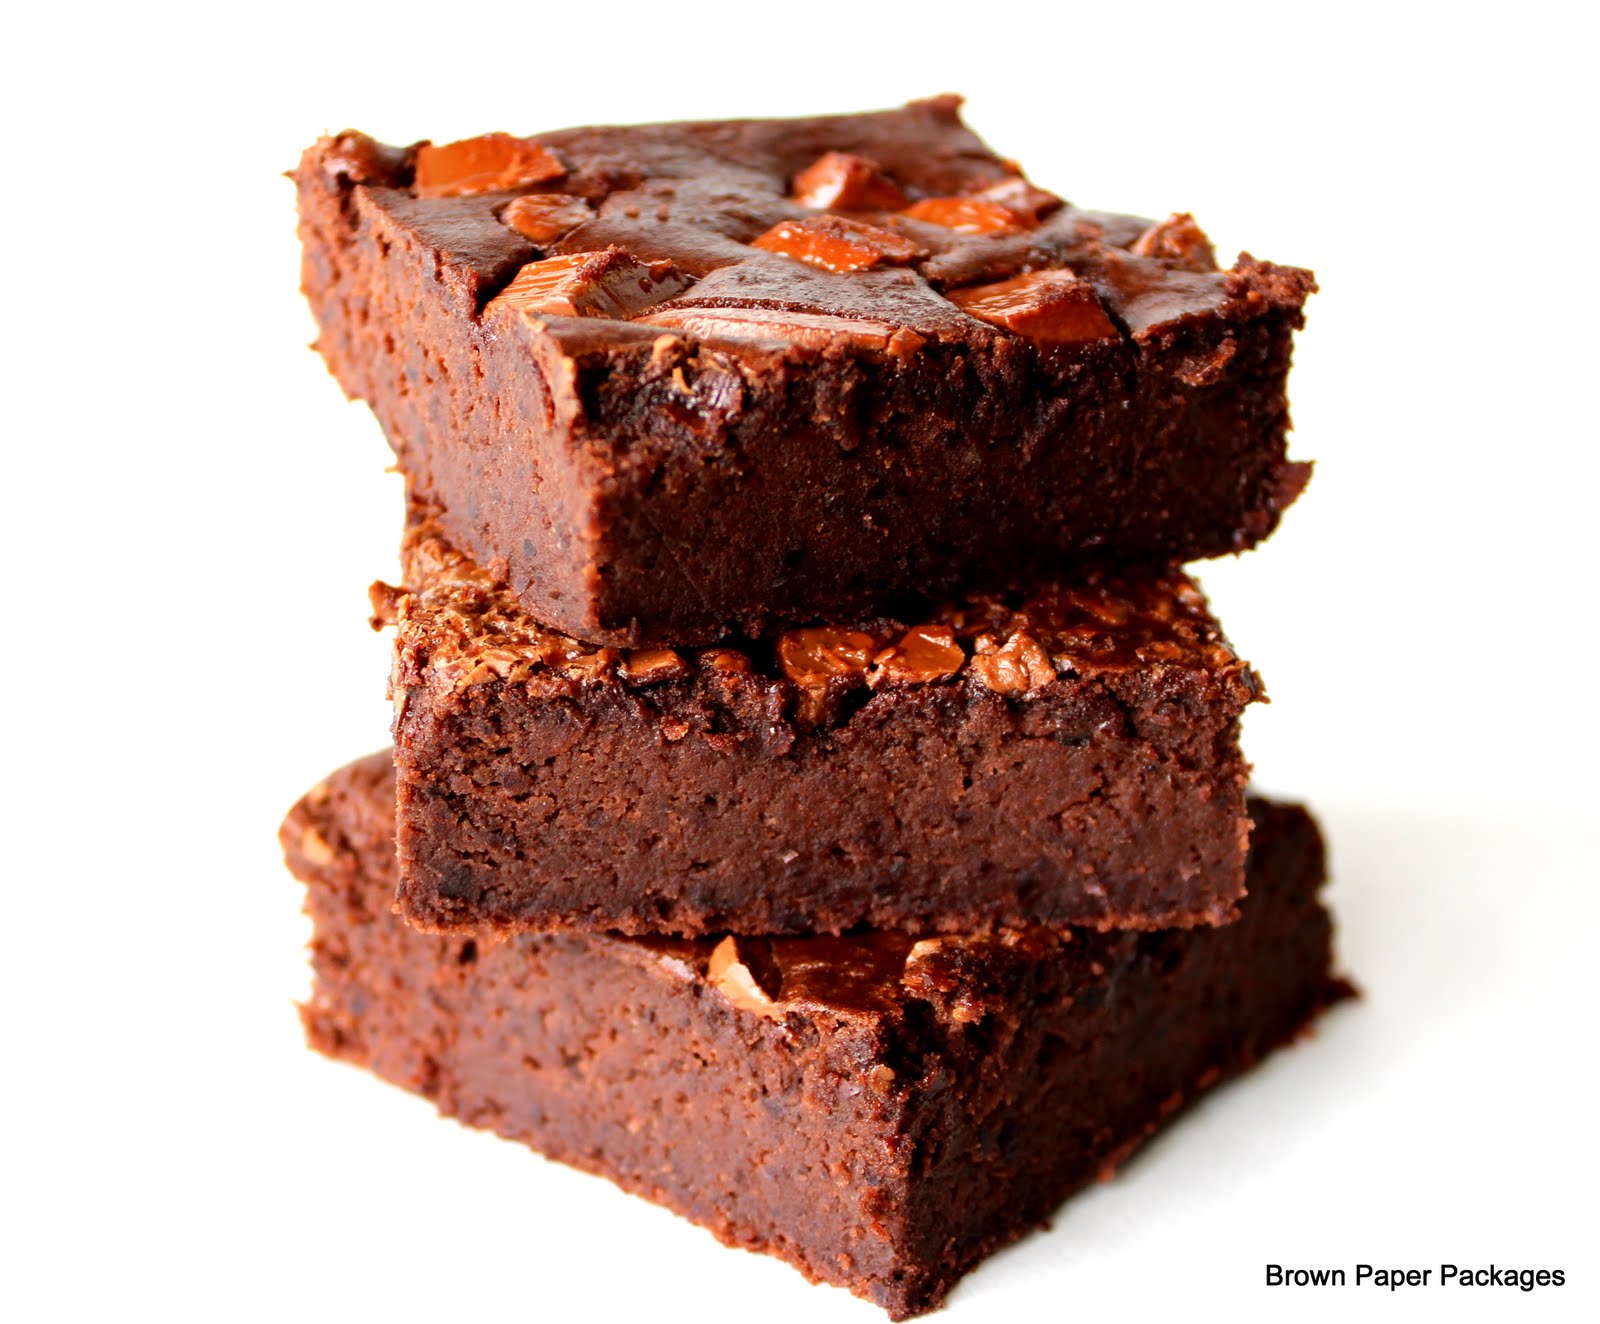
Doesn't that look seriously yummy?
Can you guess what the main ingredient is?
Surprise!
Black beans.
Uh huh.

Last week, our little family spent a few days with Hubby's parents, and my mum-in-law baked up a batch of these brownies. I could hardly believe my taste buds...they were that yummy.
Of course I had to ask her for the recipe, and I whipped up a batch yesterday. That's when I decided you need to know too! If you have family or friends with gluten and/or dairy allergies, this is the recipe for you!
Between hubby's extended family and mine...there are so many with gluten and dairy allergies...so believe you me, when I can get my sticky fingers on a recipe for a dessert that tastes good, accommodates the allergic AND is easy to make, not to mention with ingredients I usually always have around...believe me, it's a good day.
How bad was that grammar?? Sorry.

So without tormenting you any longer....here's the recipe:

19 oz. can drained and rinsed black beans
3 lg. eggs
1/4 cup cocoa
2/3 cup sugar
1 tsp. baking powder
1/4 tsp. salt
1 tsp. vanilla
1 tsp. instant espresso
1/4 cup choc. chips.


Are ready for this? Throw everything in your food processor (or blender) except the choc. chips.
Blend it together until it's very smooth.
Add the chocolate chips (or in my case, I didn't have any, so I chopped up two Hershey bars and sprinkled over top).
Pour into a greased 8x8 pan and bake at 350 F for 30 - 32 minutes.

That's it.
Yum.


Doncha just want to sink your teeth into some? Mmmm.
We ate them with whipped cream and fresh raspberries...so good you'll hardly believe you're not cheating (too much).

Thanks Mum-in-law for a gooder!!

--------------------------------------------------

Linking up to:

Thursday, 9 June 2011

Make Your Own Yogurt!

Hello, hello!
 Sorry for the delay in posting around here...life has been a little nutty lately with traveling, a wedding, sick babies, hospital stays and yard work!
I've had a couple requests for this post, so this morning I decided I better get cracking!
(Sorry for the wait, M!)

Remember my granola post? Well, at the same time I was kicking and screaming at the price of granola, I was whining and complaining at the cost of the yogurt hubby was eating with it. The artificial sweeteners were making me cringe too. But for some reason, the thought of tackling homemade yogurt put me into a bit of a sweat. Until I discovered a method that convinced me I really could do it! And without a yogurt maker! Bonus!
Now I make yogurt about every two days and the family LOVES it.
 (And yes, hubby also claimed he would never eat homemade yogurt either...I had to trick him into thinking I was making it for the kids. Now he devours it so fast, the kids don't have a chance!)

So let me encourage you to try it.
You'll love the taste, the health factor and the money saved!


First, you'll need a crock pot. I bought the most inexpensive, smallest one I could find. I think I spent about $10 on this one. I figured if the yogurt experiment was a fail, at least I hadn't lost much.


Then you'll need four cups of whole milk. I've never tried lower fat milk before so I'm not sure how that work.
 If you try it...please let me know the results!


Pour the milk into the crock pot and add a capful of maple syrup and a capful of vanilla. Stir.
Now - again I'm going to harp on the quality of ingredients. The first several times I made this, I used vanilla from Mexico and the flavor was heavenly. Amazing. Then I ran out, so I bought a bottle of pure vanilla from our local grocery store. The flavor was so awful, I stopped using it. So if your vanilla has a really strong alcohol scent to it, I'd suggest skipping it altogether...it will not taste heavenly. Trust me!
As for the maple syrup...it's a small enough amount that it merely adds a sweetness without
making it taste like a pancake.


Turn the crock pot to "low" and let it cook for 2.5 hours.
Then turn it off and let it sit all by it's lonesome self for 3 hours.


After three hours, scoop out about a cup of the milk into a bowl. Here's where you are initially going to need some store bought yogurt. Buy plain yogurt that has active bacterial culture. Just read the ingredient label.
 Take out about 1/4 cup and add to the 1 cup of warm milk.

Whisk it together well and pour back into the crock pot.


Now you need to cozy it all up to get things working!
You need to wrap a towel around the whole works in order to insulate it and get it workin'.


Please ignore my dirty oven. I like to put the crock pot on a cookie sheet and pop it into my oven and leave it there until it's done. My counter space is at a serious minimum, so this is just convenient for me,
 but it isn't necessary.


And because I'm a freak like that,
I put the top oven rack on top of my stove to remind me not to turn the oven on!!

Let the milk sit for at least eight hours or even overnight. I tend to start my yogurt around 9:00 am and then leave it overnight, but I'm a little lazy. It's usually "set" by around 10:30 pm...but I'd rather be in bed then so I ignore it until morning.


This step is totally optional. I big, fat LOVE Greek style yogurt. But then, who doesn't?
So - the next morning, I line a colander with a coffee filter and put a bowl underneath the colander.
Obviously. Duh.


Look how nice and creamy that is! Woohoo! This part always makes me excited!

Now, this I almost ALWAYS forget. Make sure you take about 1/4 cup of yogurt out to use as a starter the next time around! Just keep it in a little container in the fridge until you need it.
 That will keep you from running to the store at 10:00 pm to buy another container of starter for the next morning, not that I've ever had to do that.


Then pour about half the batch into the colander. I can't find industrial sized coffee filters any where in town, so I have to do this half at a time, but if you can find something bigger...yahoo!
Let the yogurt sit in the fridge and strain for however long you like. The longer you let it sit, the thicker it gets.
I let it sit for at least 10 hours, but that might be much longer than necessary.


When you've decided you've waited long enough, you'll find this lovely stuff in the bottom of your bowl!
And in your colander, you will have some serious yogurty goodness. Yum, yum, yum.
Scoop it out of the coffee filter and strain off the second half. I keep the unstrained yogurt in the crockpot in the fridge until the colander is free.


Here it is. Creamy goodness.
Straining it really does cut down the amount of yogurt you'll be left with...probably by half...just warning you.
But in my opinion it is totally worth it, both flavor-wise and penny-wise.
 It's still costs much, much less than buying it.

I'm sorry. I am no food stylist.

Now you can add whatever you like to it. We love raspberry or blackberry jam in ours, especially when the yogurt has vanilla in it. Yummy.in.my.tummy. (Err...make that hubby's tummy.)
You could try fresh fruit...whatever tickles your taste buds! Just make sure you try it!
I doubt you'll ever go back to store bought!

Sunday, 3 April 2011

Eat Your Granola

Apparently Yogurt & Granola Time is my hubby's favorite part of his day. I'm really not sure whether to feel very sorry for him or...take it as a compliment...? Hmm.

He works a shift pretty typical to the oil field...eight days on and six days off. Those eight work days are looong days and he likes to have a lot of food with him and several choices available. So the day before he goes back on shift, the kitchen looks a little something like this...


Let me backtrack a little. When we first got married, I suggested the idea of making our own granola since the price of the store bought stuff caused me to do somewhat of a balking donkey-like performance at the grocery store. Well, let's just politely say that the idea didn't go over so well. But, my scheming friend and I came up with a plan! Mwahahaha! She made her own granola, and we were coming to stay with her and her hubby for a while. So if SHE served him HER homemade granola, he couldn't very well turn it down and still be polite, now could he?! Especially since she was MY long time friend (and ya gotta get in good with the long-time friends - everyone knows that). Well let's just say our devious little plan worked and I was now allowed to make our own granola, as long as I never, never, ever, ever strayed from her recipe. Umm, okay. If it's confession time, I'll have to admit that I did modify it a bit, but only to try to get closer to the flavor of the original store bought stuff that he had sworn allegiance to.

So here goes - maybe you can make your hubby a believer too.
(The full recipe is below)

Get the biggest bowl you own and throw in rolled oats (big flake oats produce a better result), wheat germ, oat bran, sliced almonds and shredded coconut. Mix it all up and do the macarena to make it really fun!


Turn your oven on. If you're anything like me, make sure nothing is hiding in there first!!

Now take a saucepan and throw in some maple syrup, honey, olive oil, cinnamon, vanilla and salt. If you measure your olive oil first, then your honey and maple syrup in the same cup, your life will continue to be happy. I usually pour the honey and maple syrup into the measuring cup at the same time. Heat this up until it's "thin", but don't let it come to a boil.
Now pour it over the dry stuff and stir it up. Spread it out over a foil lined cookie sheet. Actually, you need two fairly large cookie sheets and try to make sure the foil is shiny side down...otherwise you will end up with very crunchy, dark brown granola in not a good way.


Bake for 10 minutes, then take it out and stir it and bake again for another 10 minutes or so. Watch it fairly closely in the end and pull it out when it's the "brown-ness" that you like.

Let it cool for a few minutes, then pour back into the big, huge honkin bowl that you've since washed and dried. Wait for the next batch to bake, then throw that in too.

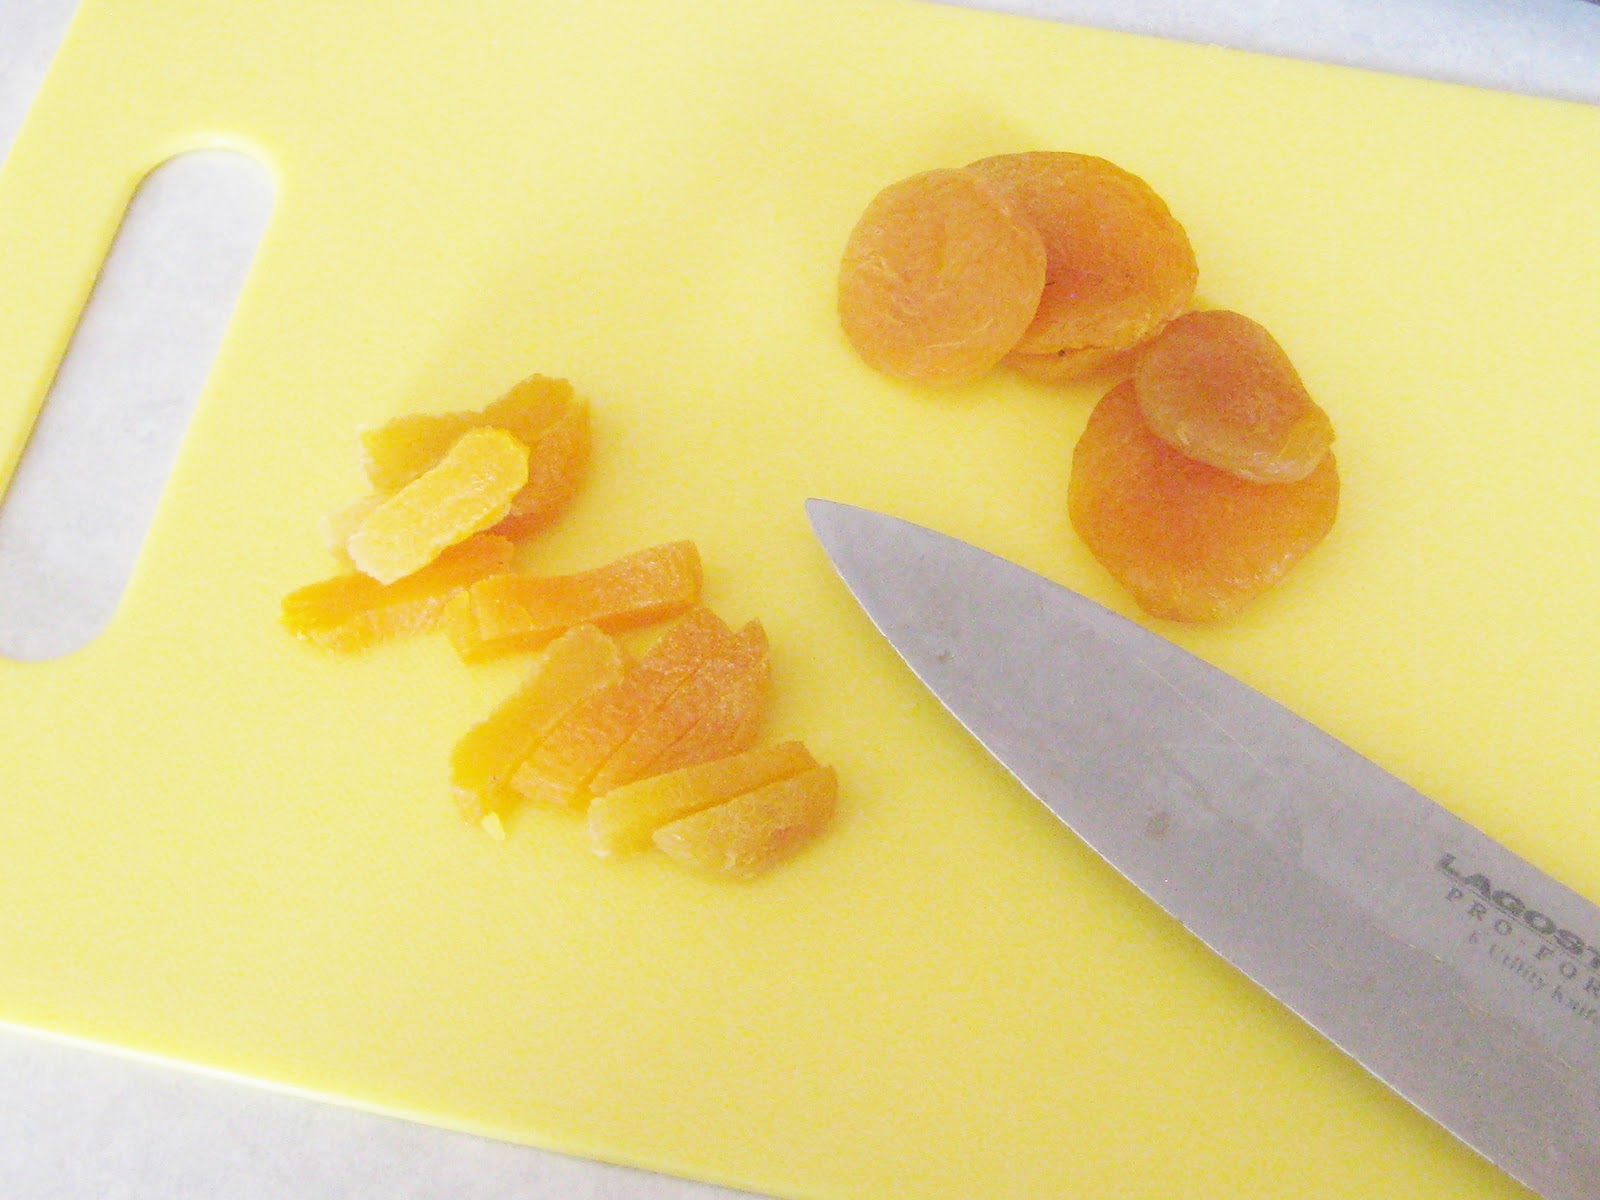
Here's where you can be creative! Add whatever dried fruit floats your boat. Or chocolate chips if you like! Make it your own. I used chopped apricots because that's the way hubby likes it. I used to add dried cranberries and after about a year, he very nicely told me he didn't really care for them. So...just dried apricots at this house.


If you keep them frozen, they are so much easier to chop. If you coat your knife with cooking spray first, it's even easier!


After all that...voila! Yummy, nummy granola.

Put it in a pretty jar and tie a ribbon around it! Or put it beside a vase of tulips and take a picture!


This jar typically lasts about a month. Unless my mom is visiting too...then maybe a week.
HA! HA! I'm teasing, Mom. I'm glad you like it!

So here's the full recipe.

Crunchy Granola from BC

8 cups rolled oats
1 cup wheat germ
1.5 cups oat bran
1 cup sliced almonds
1 small bag shredded coconut
1 tsp. salt
1/2 cup good quality maple syrup
1/2 cup honey
3/4 cup good quality olive oil
1 Tbsp. cinnamon
1 Tbsp. vanilla
1 cup chopped, dried apricots
(Sorry to be a stinker about it - I totally sound like Martha - but if you use "cheap" maple syrup and olive oil, it really makes a difference and does not taste very yummy in the end. Trust me - I tried it.)

Combine oats, wheat germ, oat bran, almonds and coconut in a large bowl and mix.
Heat oven to 325 F.
In a saucepan over medium heat, mix together: salt, maple syrup, honey, olive oil, cinnamon and vanilla. Heat and stir until mixed and "thin". Pour over oat mixture and stir to coat.
Line two cookie sheets with tin foil. Spread granola over sheet and bake for 10 minutes. Stir and bake for another 10 minutes or until a nice toasty, golden brown.
Cool. Stir in dried fruit(s). Store in an airtight container.

ENJOY!!!


Related Posts Plugin for WordPress, Blogger...