

It's no secret. I may be trying my hand at contemporary decor inside, but when it comes to outside...there's no swaying me from Old World style. I. love. it. In capitals with exclamation marks after.
Crunchy gravel pathways, weathered wood, stone walls, mossy cement...mmm...I love it all. Red geraniums in terra cotta pots just make my heart go all pitter patter.
A few weeks ago, I was dreaming up some ideas for our backyard and the wheels got to turning...

I took a pair of totally-wrong-color-for-this-house candlesticks...

And two remaining cylinder vases/candle holders (?). They were originally part of a set of three...you know the ones...they were used for every wedding centerpiece in the country a few years back...
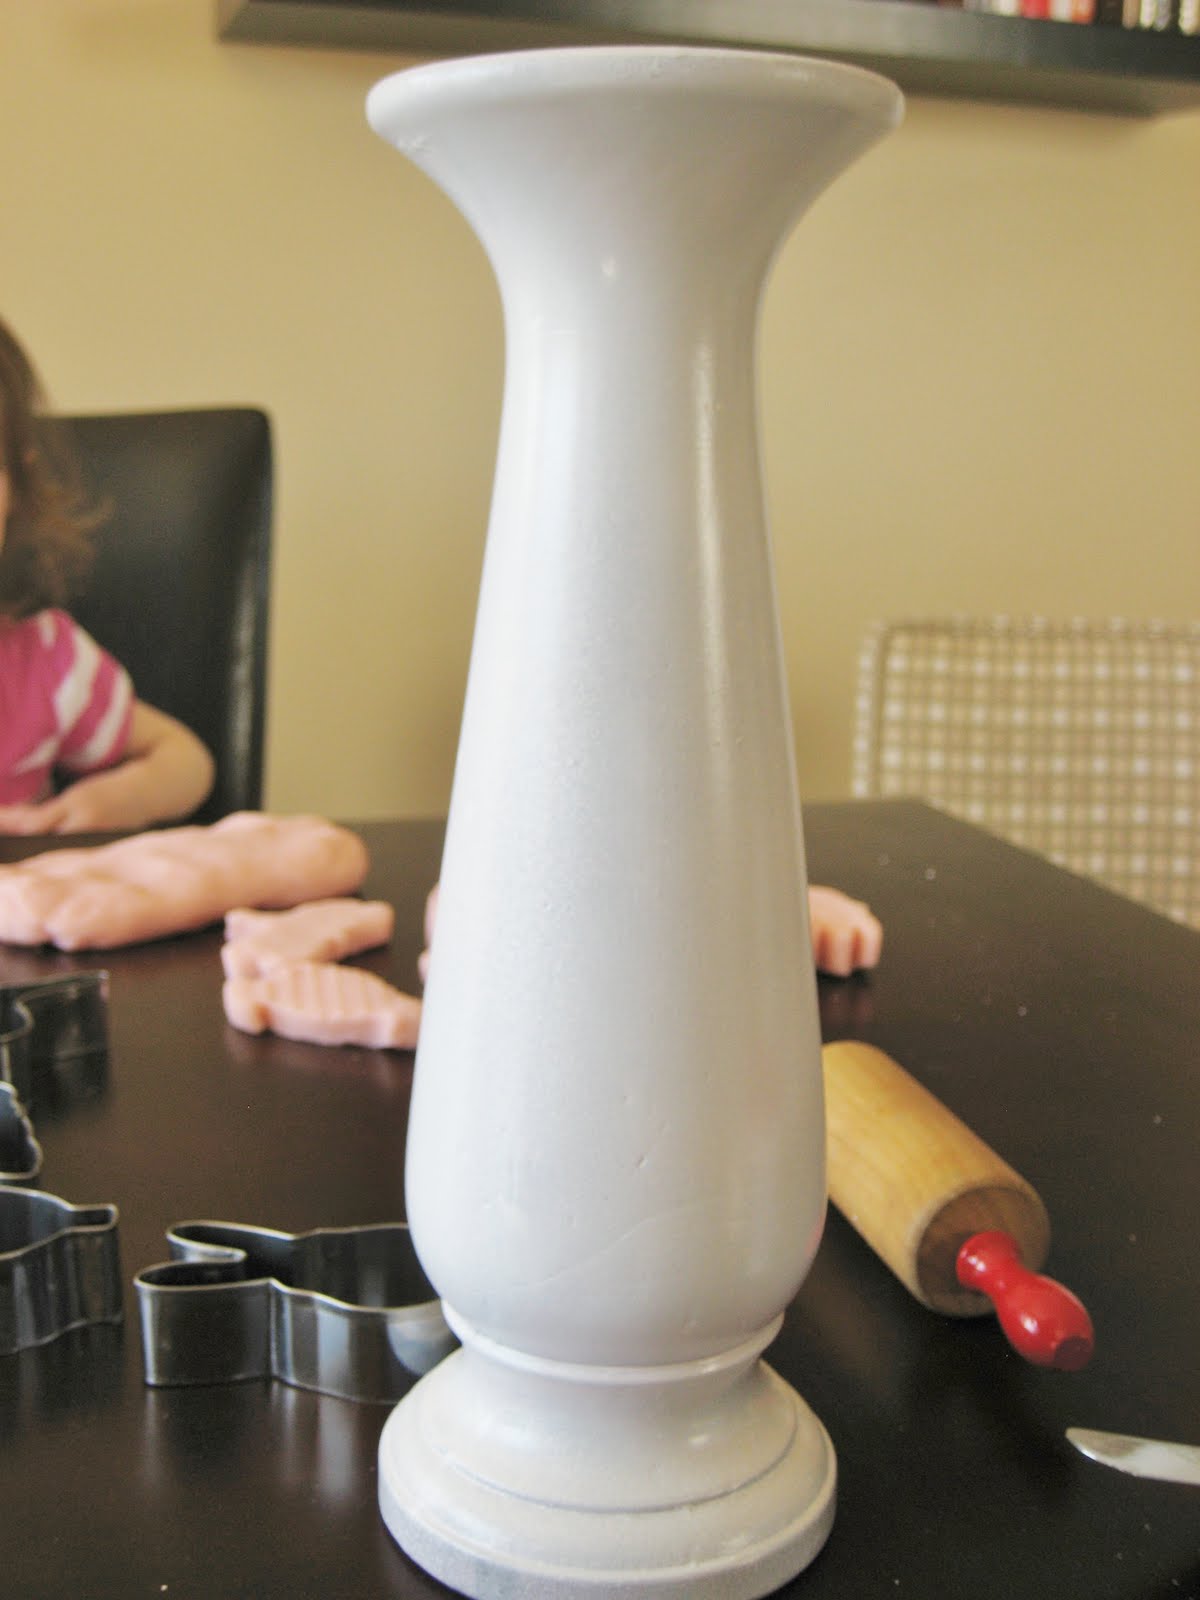
I had originally tried to paint the candle sticks white, but completely botched it up somehow. I'm still really not sure what went wrong! I just knew they were ugly enough I wouldn't be using them again!
(Excuse the playdough paraphernalia in the background...but it was a great way to keep a curious two year old occupied while Mama played!)

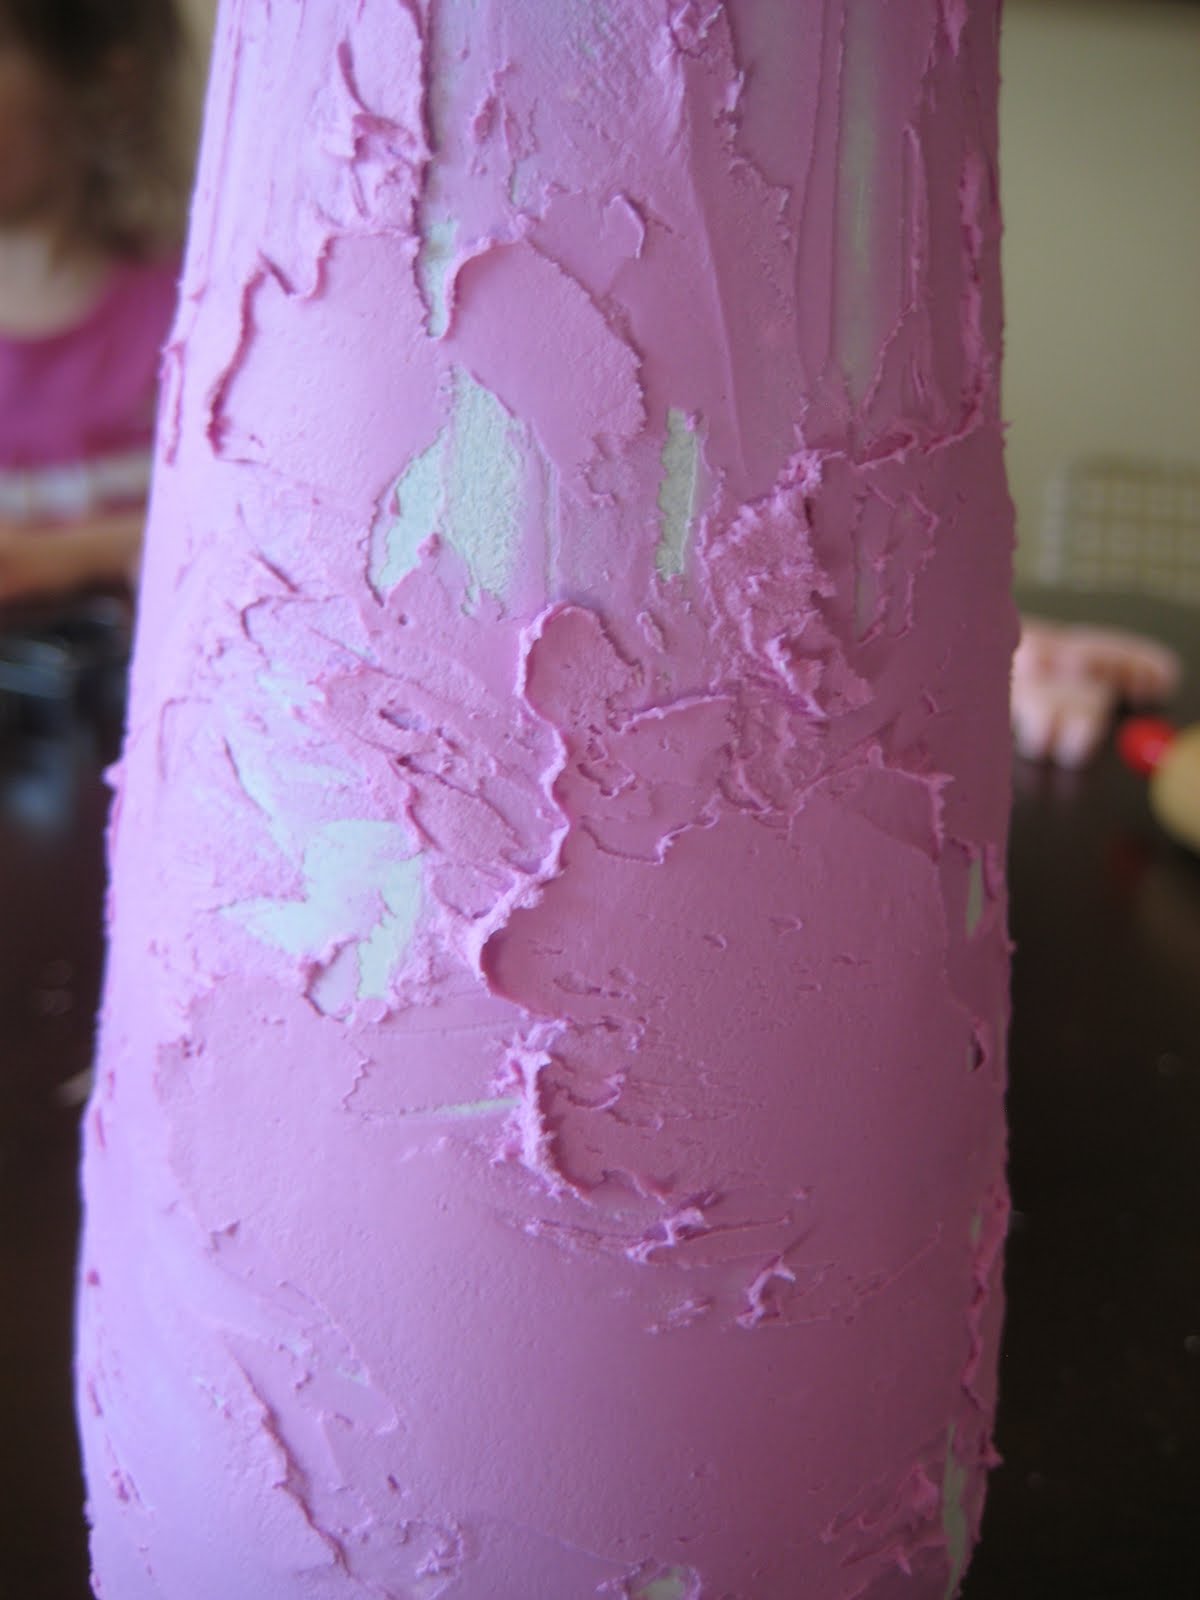
I picked up a container of spackle from the hardware store and fished out an off-set spatula intended for cake decorating (from my drawer - not the hardware store!).
By the way...I love this spackle!! It's goes on pink, but dries white!

Then I tried to somehow create the look of cement. Now, I am no artist so don't be too hard on me! Somewhere in blogland, I came across someone who was using a technique similar to this, but for the life of me, I can't remember anything past the use of spackle and that it looked cool!
Anyhow, it wasn't too difficult. I just kind of smeared it on and played with it until I thought it had the potential to eventually look cement-ish.
On one candlestick, I smeared more "up and down" and on the other one more "around" in circular motions.
If you are thinking of trying this yourself, I'd recommend going up and down, rather than around, as that tended to look a bit messy after it was painted.

Then I put it out on the deck to dry good and solid in the sunshine.
After it was completely dry, I kind of rubbed my hand all over it to soften up any hard edges and pokey bits sticking out....

Then a solid coat of black spray paint...

I didn't worry too much about the paint drying thoroughly, so a few minutes later I gave it a medium coat of grey paint, trying not to cover all the black. Light spraying will do the trick.
If I'd been paying attention at the store (tough to do with two fighting toddlers in the cart!), I would have bought grey paint...not shiny aluminum paint! Ah well!
So, to calm down the shininess (hard to see in the picture), I did some reeeally light shots of cream paint still trying to sort of layer all the colors and still keep some of the depth from the black paint.

This time I let them dry for a while...but probably only because I had to make lunch or do the laundry. Then I gave them a light sanding all over to soften up the edges some more. Once the paint is applied, it's easier to see if you're getting anywhere close to a "cement" look, and mine definitely needed some sanding!!

Next I took some acrylic paints...Burnt Umber and Dark Forest Green...and used a cotton cloth to dab with. (Hubby's ratty old undies work great for this! Shhh! I didn't tell you!)

So ummm...moving right along...I tried to get both the green and brown on the cloth at the same time, and then dry rubbed it all over. The Burnt Umber picked up really well in the sanded areas, so I had to be careful not to use too much. Then I went over it again with only the dark green, intentionally leaving some spots darker. I was trying to go for a mossy look, so I also used some light leaf green in different spots to create more variation.

I had this plant stand already, and really liked the finish on it, so I used it as a color guide.
Phewf! That was a lot of painting and layering!
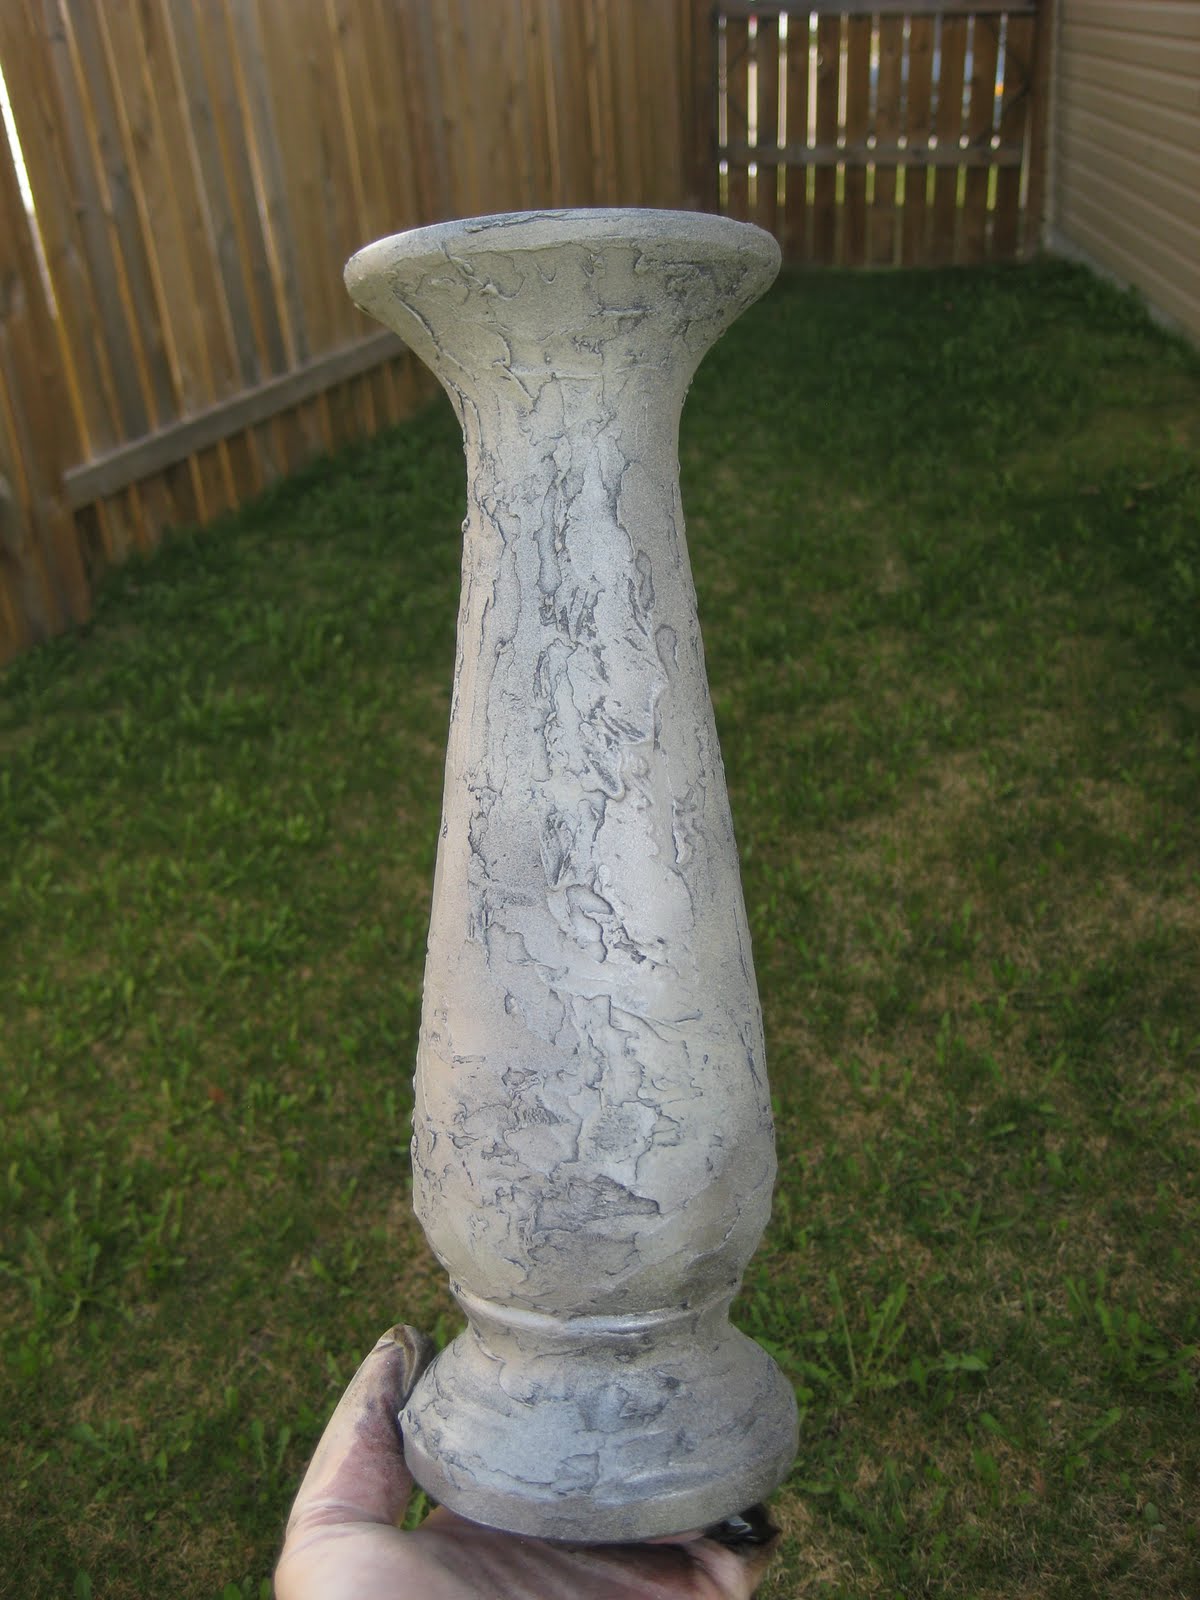
After everything was dry, I attached the glass cylinders with some clear silicone and let it dry overnight. Sooo easy to do!

I think I'd apply the spackle a little smoother next time...
but over all, I'm really pretty happy with them!
And now I'm really looking forward to enjoying a glass of Pinot Grigio
by candlelight in the garden with my honey one of these evenings....
---------------------------------------------------------------------------------
I've linked up to Centsational Girl's Outdoor Ideas party.
Wow - Love what you did. They look exactly like cement. You mixed the colors together to get the perfect patina. I love projects that re-use items - this one is so clever.
ReplyDeleteI am working on a project right now using spackle in a creative way. I am hoping it comes out as I planned.
My best- Diane
Thanks so much Diane! It was a fun project! I'll be checking out your blog to see what you're creating too! :)
ReplyDeleteThey turned out great! Thanks for sharing.
ReplyDeleteThey look great. What is Spackle? I live in France & I've never heard of it. Is it like a ready mixed (polyfiller) plaster ?
ReplyDelete